Monday, December 3, 2012

Christmas Crafting

WARNING - if your name is Molly or Maggie and you are age 2 or 3 and you are my niece, please do not read on further...it will ruin any Christmas surprise.

I love handmade gifts for Christmas, especially for kids.  I've learned that kids have a ton of toys, so mixing in some handmade goodies is usually a hit for parents and kids alike.  I've started crafting my nieces' Christmas present - it's going to be a felt playhouse that lays over a card table.  Here are a few examples I've seen online...

The CupCakery Card Table Playhouse, White Scalloped Roof, Brighter Colors, Custom Order, Personalized, 40 removable and replaceable pieces

Felt Card Table Playhouse,  Construction Site, Personalized, Custom Order
These are both from this cute Etsy shop, http://www.etsy.com/shop/missprettypretty?ref=seller_info.

I figured I'd try my hand at my own design this year.  JoAnn's had a great sale on 72" felt - half price - the weekend after Thanksgiving, so I stocked up!

Here's what I have so far...

Little three-dimensional baskets to hold felt fruit and veggies

I cut an opening above the baskets to create a little outdoor market

Little lettuce bundles for the grocery/market

Cupcakes for the bakery

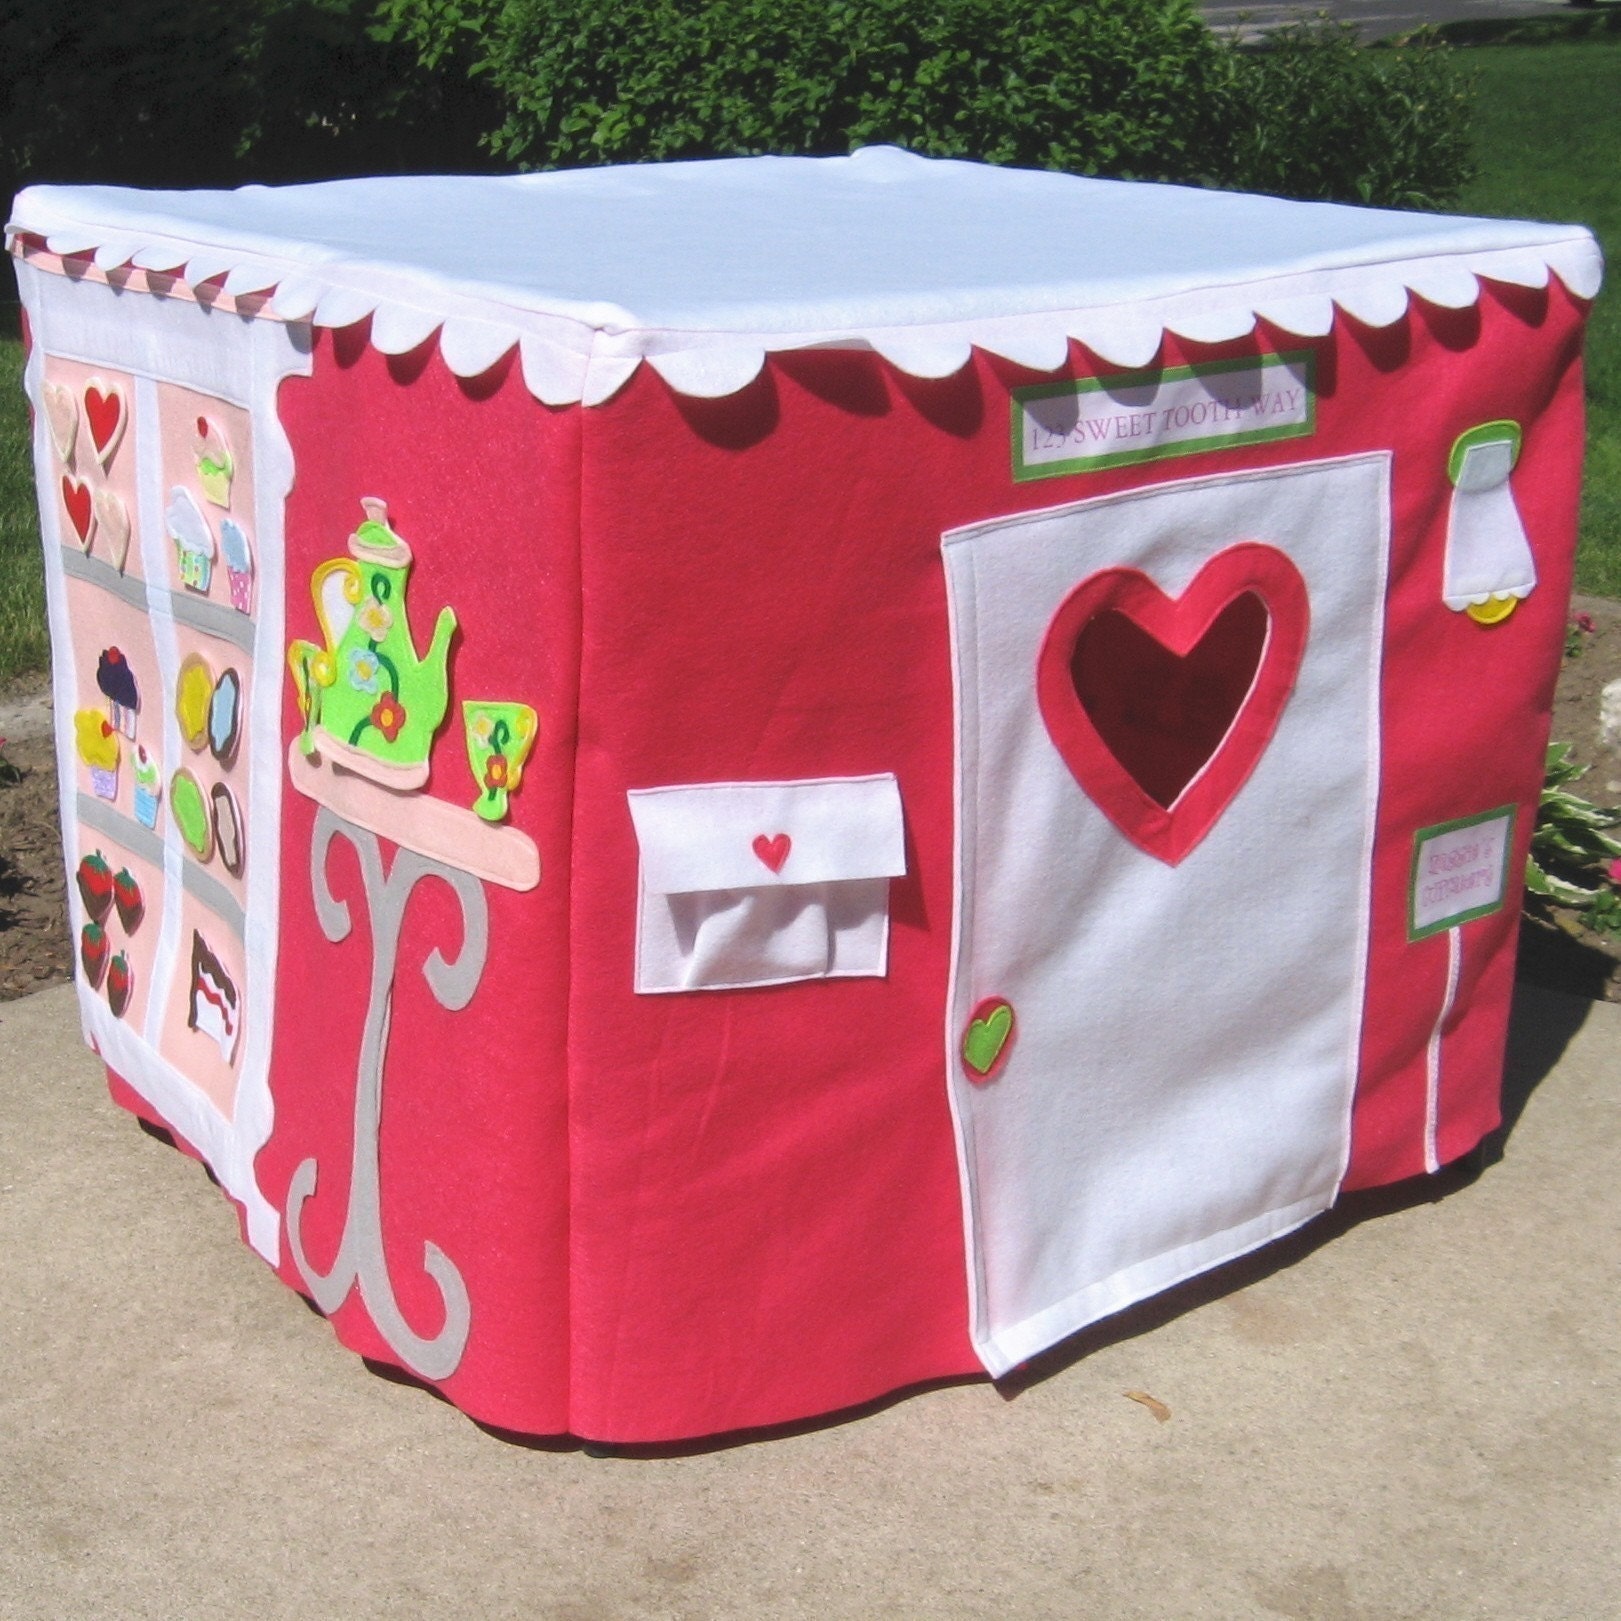
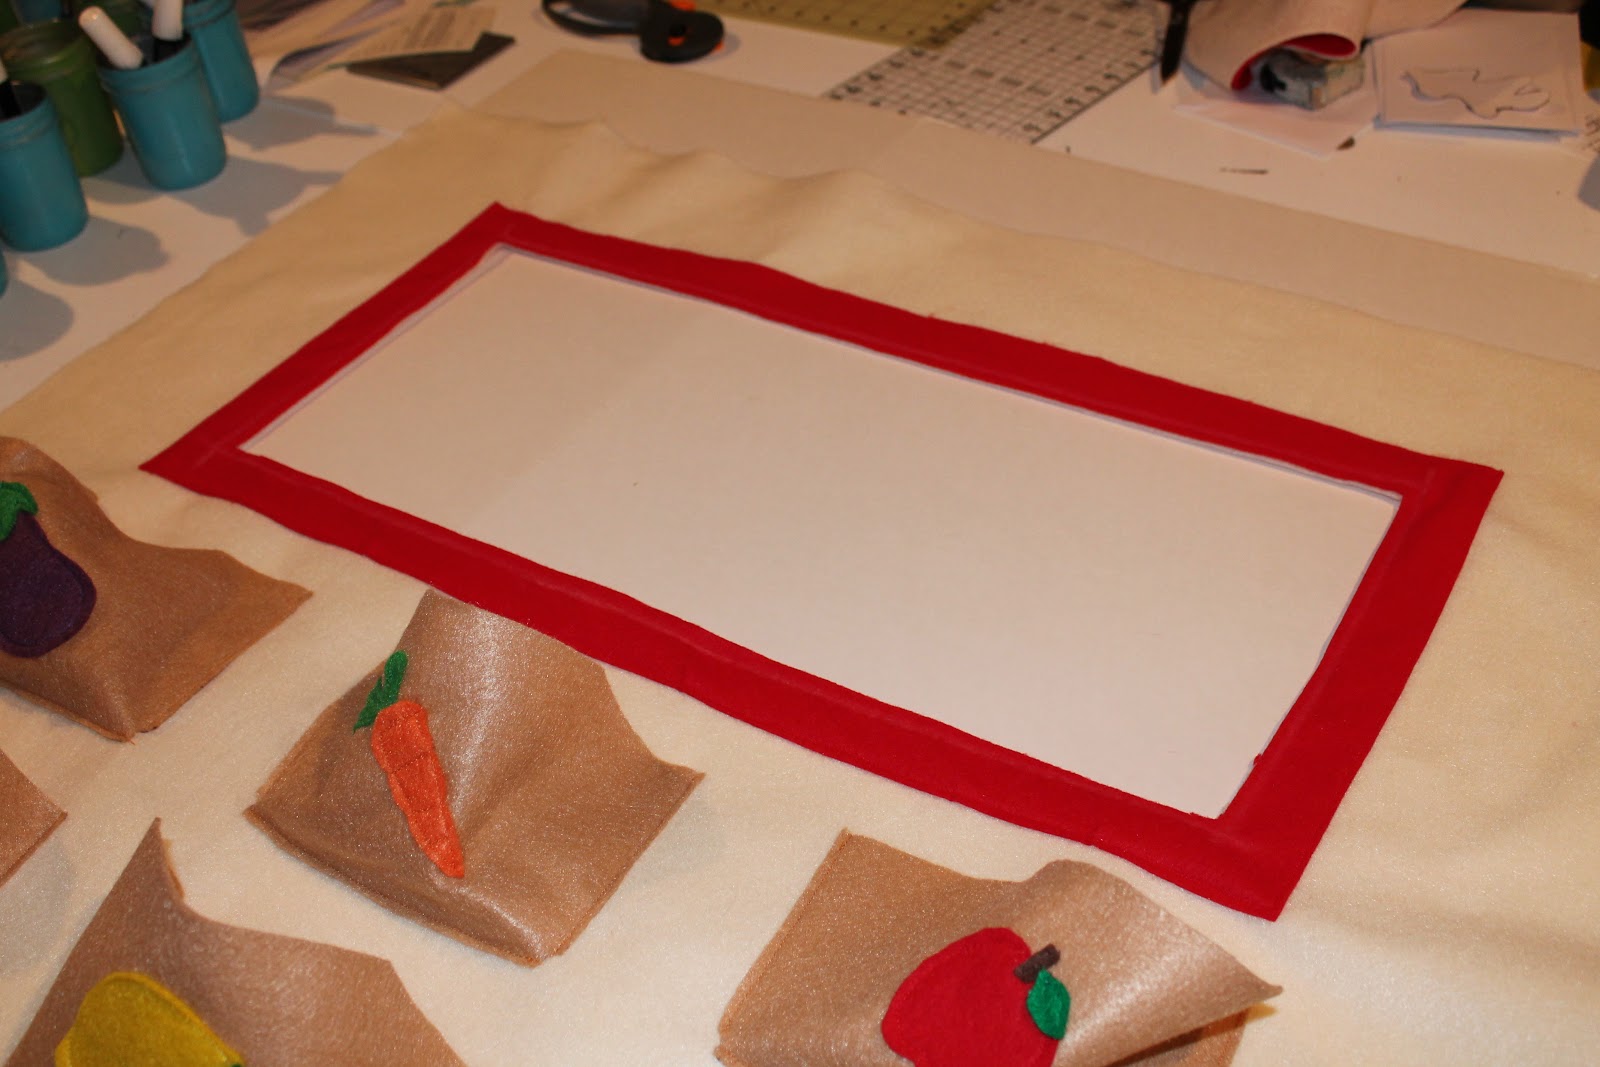
The bakery wall.  The cupcakes are all attached with Velcro so that they sit on the shelves but can be taken off to sell (the white paper is the guide of where I'll cut out a window).

As you can see...this is a work in progress and I still have two more walls to complete before Christmas.  But, I'm loving how it's coming out so far!

Are you making any handmade gifts this Christmas?

Saturday, December 1, 2012

Hot Chocolate and an Art Sale

How's your Saturday going?  I'm going to spend the rest of mine finishing a grant report for our community garden (it's due today...nothing like waiting until the last minute).

However, I was able to see a friend for lunch and head out to Lawrence for an Art Sale & Open House.  Ryan Paget was selling his pottery and paintings.  Everything was beautiful and I had a really hard time picking just a few items.  This may be my favorite purchase...


A perfect little mug. 

I'm off to enjoy my hot chocolate and finish my grant report.  Enjoy your Saturday!

Friday, November 30, 2012

Seriously...

I don't know about you, but I'm so glad it's Friday.  I wish I could have just stayed in bed today.


Petey agrees.

Tuesday, November 27, 2012

A Pinterest Inspired Laundry Room


We've been slowly working on making our laundry room a little cuter, so I thought I'd show our few projects thus far.

I made the very pinterest inspired faux metal letters...


They were super simple to make...just simple paper mache letters from the craft store, spray paint them with silver metallic paint, then sand to give them an aged look.  Mr. JG hung them (I'm thinking he had to drill holes in the back of the letters to get them to hang...but who knows, that's his deal).

Speaking of Mr. JG - he also made this awesome dryer stand while I was out of town a few months ago...


It is of course very pinterest inspired...here's the original link and tutorial that he used:

http://ana-white.com/2011/01/sausha%E2%80%99s-washerdryer-pedestals

He had to make ours a bit shorter so that our washer could still fit under our built in cabinets.  This meant a rather long search to find some shorter baskets that would fit (eventually Hobby Lobby delivered).  I added some vinyl letters and we were set!


Oh and no, I don't have wild birds flying around my house that feed in my laundry room.  I hang my feeders in here during the winter so they won't get damaged/frozen outside.

So go...make your own laundry pedestal (or maybe just faux metal letters...those are a lot easier).

Monday, November 26, 2012

Crocheted Cowl Tutorial


A while ago I found this awesome cowl on pinterest - it's sold on Etsy:

NOTE Extended Production Time - New BOSTON HARBOR Scarf  - Warm, soft & stylish scarf with 3 large coconut buttons - Other colors available

Here's the link to the listing: http://www.etsy.com/listing/113933476/note-extended-production-time-new-boston

Well, I love it, but it's a little too spendy for my blood so I decided I'd try to create something similar.  I'm pretty happy with how mine turned out, so I thought I'd share the tutorial in case anyone else wants to try one (it's super easy...a great beginner project for someone that doesn't normally craft but just stumbled upon pinterest - I'm talking to you here, Kim).  If you aren't crafty or don't want to make your own, I highly encourage you to purchase one from Behind My Picket Fence on her Etsy shop....they look so nice!

Ok, so here's my pattern.

Materials:

Two skeins of Wool-Ease yarn - I already had mine but I know they sell it at most craft stores - it's a Lion Brand Yarn
Three large buttons - I found these at JoAnn's for $1.75 each; they're coconut and La Mode brand; 1.5" diameter
Size US P-15/10.00mm crochet hook
Yarn Darner needle to sew the buttons on

I made the cowl by crocheting two strands of yarn together to create an extra chunky weight yarn.  You could also just buy extra chunky weight yarn (but again I just used what I already had laying around).  So crochet using two strands of yarn (use both skeins at once).

Chain 23.  Dc in 3rd ch from hook and in each chain across.  Turn.

Row 1: Ch 3, Dc in each Dc across, turn. 

Repeat Row 1 until cowl measures 32" (approximately 28 rows of Dc).

You may want to measure this around your neck to make sure you like the length before you tie off.

Now, add the buttons!  You are going to sew them on one end of your cowl, going up the long side of your cowl.


Sew the buttons on approximately 2", 4.5" and 7.5" from the end of the cowl.  When you wrap your other end around, the buttons should be centered on the short end of the cowl (see picture).


Now that's seriously it.  You just wrap it around your neck and loop the buttons through.  The Dc creates holes that are the perfect size button hole.


Enjoy!

Saturday, November 24, 2012

Homemade Blueberry Pie (no...seriously)

If you know me, you know that cooking/baking is really not my thing.  I try...don't get me wrong I certainly try.  But usually it comes out kind of gross and/or inedible.  It's just not my specialty.

So, for Thanksgiving I was really thankful that my completely homemade blueberry pies came out awesome!


I made two pies - one for my family and one for Mr. JG's.  Thanks to Aimee's crust tutorial, I had that part down and the filling was super simple.  Here's the recipe (from the Better Homes and Gardens cookbook with just a few tweaks):

Ingredients:
For the filling:
5 cups of frozen blueberries
3/4 cup sugar
3 tablespoons all-purpose flour

For the crust:
2 1/4 cups all-purpose flour
3/4 teaspoon salt
2/3 cup unsalted butter (11 tablespoons)
8 - 10 tablespoons cold water
Small amount of milk and sugar to top the crust

(1) Preheat the oven to 375 degrees. 

(2) Mix your frozen berries with the sugar and flour for the filling.  Set in a large bowl on the counter and let thaw for about 45 minutes.  The berries will be ready to add to your pie when they're partially thawed but still icy.

(3) Sift the flour and salt for the crust into a large food processor.  Cut your butter into tablespoon size pieces and add to the food processor (keep the butter cold, don't handle too much).  Then run the processor for just a second or two until the butter is in pea size pieces.  Then slowly add your cold water (just a few tablespoons at a time).  You'll know you have enough water and the dough is the right consistency when it forms a large ball inside of the food processor.

(4) Roll out the dough onto a clean and floured counter top.  Once you have it rolled to pie crust thickness, roll it onto your rolling pin then unroll onto the pie dish.  Make sure not to stretch the pie crust as your unroll it.  Trim the excess crust leaving 1/2 inch of crush around the edges of your pie dish.  (I was home by myself cooking this and may have looked around and loudly said "it worked!" when I got the pie crust onto the dish without having it fall apart.  It's times like that when I really need an audience.)

(5) Pour your thawed berry mixture over your pie crust.

(6) Roll the remaining dough out and then cut strips of dough (mine were about 3/4 inch wide) and use those to create a lattice pattern on the top of the pie.  I spaced my lattice pieces about an inch apart.

(7) Once you've completed your lattice top, brush the crust with milk and sprinkle with sugar.  Then make an aluminum foil cover with a 7" circle cut out of the center.  Use this to cover the edges of your crust but leave the center portion of your pie uncovered.

(8) Cook your pie for 50 minutes with the aluminum foil cover, then remove the cover and cook for an additional 25 to 30 minutes.  You'll know your pie is done with the crust is a nice golden brown and the blueberries are bubbling.  If you used fresh berries instead of frozen, reduce your cooking time to 25 minutes with the aluminum foil cover, then an additional 25 to 30 minutes without.


Hope everyone had a great thanksgiving! 

And a great black Friday...here was my big black Friday deal:


An antique wood sign we picked up at a barn sale Friday morning.  I love it!

Thursday, November 22, 2012

Happy Thanksgiving!


Here's hoping these pies taste as good as they look (and I don't burn them in the oven!).

I'll post the recipe in a few days.  Have a great Thanksgiving y'all!

Friday, November 16, 2012

Pumpkin Kiss Pies (and the future of Jane's Girl Designs)

Well we're doing a pumpkin food exchange at work - everyone has brought in a pumpkin themed food for the last two weeks...so on the last day I decided it was time to hop on board.  I've been lucky enough to eat pumpkin pancakes, oooy gooey pumpkin cake, and pumpkin bread pudding over the last few weeks.  So here's my contribution: Pumpkin Kiss Pies.


First off, the recipe is a modified version of kiss pies - that can be found on The Picky Palate.  Modified in that we changed out the kiss and made homemade pie crust.  And yes...I said we.  My friend Aimee actually did all the heavy lifting on this one.  BUT I did learn how to make homemade pie crust!

So here's the recipe we used (makes 3 dozen):

2 1/4 cups all purpose flour
3/4 teaspoon salt
2/3 cup cold unsalted butter (11 tablespoons)
8 - 10 tablespoons cold water
3 dozen (or so) pumpkin spice kisses

(1)  Preheat the oven to 350 degrees and grease 3 to 4 baking sheets.  Sift the flour into a large food processor.  Mix in salt.

(2)  Chop 2/3 cup cold unsalted butter into tablespoon size pieces.  Try not to handle the butter too much so it stays pretty cold.  Add to food processor and mix for just a few seconds so that pea size pieces of the flour/butter mixture remain.  (For some reason we only had salted butter at my house so we just used that and didn't add the salt in step one).

(3)  Slowly add cold water, a couple of tablespoons at a time, mixing between each addition.  Continue to add cold water until dough forms into a ball in the food processor.

(4) Unwrap all your kisses.

(5) Roll out your dough onto a floured counter or pastry cloth.  Aimee suggested using a heavy marble rolling pin because it does most of the work.  Use a 3" circle cookie cutter to cut out circles.  Re-roll dough and keep cutting circles until all is used.  Should make about 3 dozen circles.

(6) Place a kiss in the middle of each circle of dough, then fold up the edges to form a diamond on the top (see picture above).

(7) Place 1 inch apart on greased cookie sheets and bake for approximately 20 - 22 minutes or until they start to turn golden brown.

(8) Let cool on racks, then sprinkle with powdered sugar.

And that's it!  The original recipe used mint kisses which would be awesome for Christmas.  Aimee said she's made them with dark chocolate before too and they were great too.


YUM!

And in other news...I've decided to retire the Etsy shop for a bit, at least with my Family Birthday Boards.  I've sold a ton of them and had great success, but it's also taking an immense toll on me.  I come home and craft every night, all night.  I'm spread pretty thin and at some point it stops being fun.  So I plan to finish up my last few orders, then focus my attention on trying some new craft ideas/pinterest projects, creating a few custom orders for friends/family, and keeping up with the blog.

So thanks to all of you that have supported my Birthday Board venture!  I'll probably still occasionally make some for craft fairs or the occasional custom order, but for now it's time to try something new!

...maybe I'll start baking/cooking on the regular (don't hold your breath Mr. JG).

Thursday, November 8, 2012

Adventures in Craft Fairs!

I had a really great experience at the Basehor Craft Fair last weekend.  Here's a good shot of my booth...


The booth space was pretty small and we were awful tight together in that gym...but I think it came out pretty cute!  I used the same peg board display that Mr. JG created for me using these instructions from Sugar Bee Crafts as a general map: http://www.sugarbeecrafts.com/2011/09/peg-board-display-case.html.  I also reused the same sheets for the tables and handmade paper bunting (to make it look less like card tables covered in sheets).

I still stand by my Craft Fair Do's and Don'ts...however here are a few more lessons...

Make stuff for kids!  At my first craft fair I had nothing really made for kids so not a ton of sales.  This fair...I made my I Spy bags and put them right on the front edge of the table.  I made around 30 of them and they were sold out within the first two hours.  I got additional orders that day (and a few since then) for some more I Spy bags.  So...kids crafts sell big!  (make sure you have enough of them!)

Along those lines, have inexpensive items.  Birthday boards are my bread and butter, but they are expensive and are a larger purchase.  I've realized that people are more apt to just spend a few bucks so you can manage larger profits with have a lot of small items.

Once again...I was glad I had a credit card reader (I use the Square reader).  While most people at this large fair were ready with cash, a few people wanted to place larger custom orders which made a credit card reader essential.  I love my square reader...it's really easy and I can email people a receipt right on the spot.

Include taxes in your price.  Double check to see if your state allows you to include sales tax in your total price, and if they do I highly recommend it.  When you're at a craft fair and something says it's $5, you just want to hand a $5 bill...not have to come up with additional change to cover tax.  So I just include sales tax in my price and keep a clear log of everything I've sold so that I can pull the taxes out of my totals later.

Have bags!  I wish I would have done a better job with this.  I just had lunch bags which worked for smaller items, but wasn't very helpful for larger purchase (and don't really have good handles).  So before my next craft fair, I'm going to keep my eyes peeled for some inexpensive bags with handles (I really don't just want to use old grocery sacks).

Be signed up for future craft fairs and know which ones so you can tell your customers about it.  I had a ton of people ask me which fairs I was doing coming up and I don't have any on my schedule.  Soooo...I'm looking at signing up for more in the future but I wish I would have had a solid schedule to tell people "come see me next week in Lawrence" etc.

Make friends with your fellow crafters.  I bought some amazing hand-woven baskets from a woman named Sue that was just across the aisle from me.  She has been crafting and doing fairs for nearly 30 years so she had a lot of good advice and it was also a good opportunity to see what a really nice looking booth looked like.  You can learn a lot from your fellow crafters, so don't be too intimidated to say hello.

Bring a friend.  I had my mom with me this time and my mother in law at the last fair.  It's really helpful for setup and tear down of your booth AND if you need to use the bathroom or just want to walk around and look at other booths (and befriend other crafters).  Even if you just get someone to help with setup and tear down and then stop by for an hour or two...that's better than nothing!

Good luck!  Let me know how your craft fairs go!

Wednesday, November 7, 2012

A little house

My youngest niece, Molly, turned 2 years old recently so of course a handmade present from Aunt Rae Rae was in order.  After scouring the internet for a good present that I really wanted to make, I came across the cutest pattern for a little fabric house.  Here's the pattern I used as my guide: http://uklassinus.blogspot.com/2008/08/fabric-dollhouse-tutorial.html

I did make a few adjustments to mine - basically I made it slightly larger, increasing most of the dimensions by about two inches.  I just felt like the original pattern wasn't quite big enough for a decent sized dollhouse on the go.  Here's my finished product:


I used scrap fabric for the outside color.  These girls have a lot of pink in their lives so I decided to make the outside of the house a nice teal color.  I hot glued buttons and felt on for decoration.  Molly and her older sister, Maggie, are both old enough that they aren't swallowing little pieces, so I wasn't too concerned about just hot gluing buttons on instead of sewing them.

Of course I made sure to include a handle so she can take it with her on the go.  I also used simple felt tabs with velcro to close the house up.  The original pattern called for buttons but I thought velcro would probably be a bit easier for everyone (for me to attach and for her to open and close).

Here are some more detail pics...


I had miniature clothespins from my i spy bags so I used a couple on the back to make a little clothesline on the back of the house.


Here's the house all opened up...complete with a little pond and cobblestone path.


And a close-up of the inside of the house.  I loved that pink princess fabric for the walls.  And of course a felt dresser with button knobs.  I also added little curtains with ric-rac tie backs and a ric-rac valance.  With this description you may be getting the impression that I also make these handmade presents because I secretly want to play with them myself...valid...and true.

I took Kimbo's advice over at A Girl and Glue Gun and also invested in some polly pocket dolls that seem to fit the house pretty well.

Oh, and remember that felt car playmat that I made Molly's sister, Maggie?


It's still out at my sister's house and looks like it's best well loved and used :)  Which makes me awful happy to see!

Oh and hey, did you know that I had my Basehor Craft Fair?  I'll post some pics from my booth later this week and tell you all about it.  It was quite the success!

Wednesday, October 31, 2012

Too legit to quit (heyyy heyyyyyyyyyy)

So, I'm on the road right now for my 8-5 job.  BUT do not fear...I was busy crafting before I left in preparation for my big craft fair THIS SATURDAY!  Say what?!?!  It's the Basehor Craft Fair - held from 8am to 4pm this Saturday, November 3 at the Basehor Linwood High School.  If you're in the area, seriously consider coming out to visit us!  My mom is helping me with the booth and I think Mr. J.G.'s mom, Patty, will be stopped by as well.  It's $2-3 to get into the fair so bring a little cash...and then come and look around and find lots of good stuff to take home!

Here are some of the things I'll be selling...


Tote bags made with recycled grocery sacks (and some pretty fabric as well)!  This was the first one I made and very quickly wanted to just keep for myself.  But don't fear (because I'm sure you were super worried) - I'll be selling all these!!!


I found that the target bag patterns made some really nice plastic bag "fabric" so I used those for quite a few of them.  I honestly had more supplies but just ran out of time.

I'll also have my mason jar sewing kits for sale...


And a ton of I spy bags for the kids.

Oh and of course I'll have some birthday boards for sale - family birthday and some classroom birthday boards.

And here's what else...when I wasn't looking I hit 10,000 blog views today!  Say what?!?!

You know what that means.  I'm legit...

...too legit to quit.

(I'm in a hotel room, by myself, between meetings...so yes, I'm bored.)

Friday, October 19, 2012

Wedding Directional Sign

For our wedding, Mr. J.G. did some crafting of his own and made this awesome directional sign.

Photo by Earl Richardson, www.earlrichardson.com

We bought a few skinny pieces of wood from Home Depot then I came home to this one day...


That's right...Crafty McGilicuty in all his glory.  Once he had it all built, he painted the sign to include some important places including our honeymoon location.  Did you notice he even painted a flower on there?  He's a really talented artist - his mom has a number of his drawings in her house (color me jealous...I've been begging him to draw something for a while now).

ANYWAY, we put the sign in an old milk can and held it up with a bunch of sand in the can.  It came out pretty cute and was a fun thing to greet our guests!

Want your own?  Shoot me an email and Mr. J.G. will make it!  Uh, I haven't cleared this with him at all so email at your own risk :)

Monday, October 8, 2012

Reason #165 that I love my husband

I'm getting pumped for the Basehor Craft Fair!  PUMPED!  I'm starting to focus all of my crafting/free time around preparations.  Which leads me to reason #165 that I love my husband.  I'm making more I Spy Bags...


I've changed my format a bit - they're round now and a wee bit smaller (better for little baby hands, duh).  Well anyway I spent at least an hour making that little card that I laminate and attach to the bag.  I have to lay out all the items spaced just right, take a picture, then label everything, etc. etc.  So I really wanted to keep using that card over and over BUT I ran out of the cars and bowling pins!


Are you as sad about that as I am?  You should be.  #firstworldproblems  I don't tweet but I've seen other people hash tag things so I thought I'd try it.  I'm not sold.

Anyway...today Mr. J.G. came up and joined me for lunch on my break.  Well afterward we went to the Dollar Tree thinking I could get more bowling pins and cars (Dollar Tree is where I got them originally).  Welp...we walked around the Dollar Tree for 25 minutes looking and couldn't find either!  Then when the lady asked me if I found everything ok and I told her my dilemma (complete with displaying the i spy card) she walked around with us for another 5 minutes trying to find it.  Mr. J.G. helped...the whole time....30 minutes...in a Dollar Tree.  That's love people.  I also thank his mother for it.  I'm pretty sure she did things like that to him as a child on a regular basis and he's just been broken down now.  :)

Oh, and if all else fails I know I can just find a substitute to the bowling pin and remake the card...but what a pain in the butt.  It's much easier to drive to 15 Dollar Trees and search, right???

Back to my Basehor Craft Fair prep!  So far I've made 12 mason jar sewing kits.  I think I'll have about 25 or 30 I Spy bags by the time all is said and done.  I need to start making some Family Birthday Boards, but my motivation there is a bit lacking.  I'm a little burned out on them so these other crafts have been a nice distraction for me.

This Craft Fair also seems to have a lot of old pros...a little intimidating.  SO, I'm trying to up my professionalism level.  I was pretty happy with the cuteness of my craft booth at my first fair over the summer (remember this??), so now I've resorted to getting better storage/transport containers.  I ordered a monogrammed thirty one bag yesterday.  Have you guys seen these things???  They look awesome!  Tons of room, pretty solid, and super cute.

Large Utilty Tote

Image courtesy thirtyonegifts.com

You have to find a consultant, so email me if you're in town because I can give you the info on the lady that sold mine to me.  I got mine in a cute turquoise and brown pattern and monogrammed with my new initials...bam!

AND I've also decided to purchase two of these awesome HUGE bags from Clever Container.  My sister has started selling it - it's a new line of products.  I'll be perfectly honest...I'm usually not a big fan of these lines of stuff that people sell (sorry).  Sometimes it can be a bit pricey (pampered chef...nice but eeesh) OR it's something I really don't use.  But, both the Thirty One bags and Clever Container have some nice stuff that I can actually use (especially as a crafter!) and the prices are really good which is a big factor for me.  Clever has lots of organizing stuff...but here's what I'm getting:

Image courtesy Clever Containers

It's slightly hard to tell (this is a picture I snipped from the online catalog) but they are these massive bags (they come up to my mid thigh...huge).  They are pretty solid too so I think they'll be great to haul a bunch of stuff to and from craft fairs.  Here's my sister's website so you can buy your own if you want!  http://mycleverbiz.com/brookeparker

Alright, I'll keep you all posted on my Craft Fair happenings as I move forward....and on the status of the miniature bowling pin search :)

Thursday, October 4, 2012

Is it time for another vacation yet?

Welp, I'm in the middle of travel season at work which means I'm either gone or I'm home and exhausted.  I'm not even doing that much traveling, but for some reason it's just really wearing me out!  Last week I drove to St. Louis (about 4.5 hour drive) and then back the following day, then to Wichita the next day (about a 2.5 hour drive) and back home the same day.  This week I flew to El Paso on Monday, flew home Tuesday and got home around midnight, then drove to Warrensburg, MO (about 2 hour drive) the following day.  Basically...I'm a little pooped.  The house is a mess with my junk (and my poor husband is trying to do it all alone) and I'm stressed.  It's all just part of travel season with work...but I'm about sick of it (and I've only been traveling for two weeks).

The good things about travel season though - most of my meals are paid by work because I'm out of town.  So, that's nice.  Plus, I get to catch up on some reading!

I finished this book in El Paso:

The Last Letter from Your Lover

As recommended by fellow bloggers Victoria and Ginny.  It was SO GOOD!  I almost got a little emotional at the airport as I was finishing it on my Nook (I'm sure I looked completely crazy pants). I highly recommend reading it...don't let the cheesy title steer you away.

On the honeymoon I was able to read The Chaperone:

The Chaperone

Also pretty good and stuck with me (just not quite as much as The Last Letter).  I also read The Virgin of Small Planes by Nancy Pickard.  It was just alright...kind of an interesting story but I didn't feel like it was really well written which was mildly frustrating at times.  At the end of the honeymoon, Mr. JG said "You've read more on this honeymoon than I read in my entire college experience."  I laughed...he said he was serious.  :)

So what else is new??

I'm getting ready for a craft fair!  Woo Hoo!  This is the big time folks...Basehor Craft Fair on November 3rd.  I went last year, just as an observer and was super impressed.  It's huge, well organized, and has a ton of people that come.  So, basically I cannot screw this up...I would be embarrassed for life!

While the Birthday Boards seem to sell pretty well on Etsy, I know they are a larger purchase/commitment for a craft fair so I'm working on a few other things to sell at the fair in addition to the boards.  I've been working on some I Spy bags for the kids.  They're slightly re-worked since my original post on them.

And, I've started working on some little sewing kits out of mason jars:


I had so many leftover mason jars from the wedding that I literally just put a table number into and that's it!  So, I made pincushions for the tops of the lids, added some spray paint and embellishment, and put some sewing supplies inside!  I think these will be a huge hit (well, at least I hope so).  They'd be great for college students or those that don't have an entire room devoted to crafting...

Oh, and one more thing.  I'm thinking of planning a crafting party later this fall...Crafting and Cocktails.  Who's in??? 

Friday, September 28, 2012

iPhones and Vows

No, this is NOT a post about the new fancy pants iphone.  I have my iphone4 and I heart it.  I'm sure the new one makes pot roast and will create world peace, but I don't care...I like mine.

This is a post about how we used a great new iphone app at our wedding!  A few days before the wedding, I found this great app via pinterest: weddingpartyapp.

Photo Courtesy www.weddingpartyapp.com

First, go onto their website, here...https://www.weddingpartyapp.com/

Then register your wedding.

Once you register you can download free place cards to put around the room that tell your guests how to download the app...here's a pic of one of our tables (before flowers, table numbers, etc) with the wedding app cards on it.


The app is 100% free and seemed to be pretty easy for our guests to use!  As a result, we got a great website full of awesome pics all taken by our guests.  It's pretty much like disposable cameras only much, much better.  It's great because while we wait for our professional photos, we get a chance to see so many photos of the day!

Here were a few of my favs...


Wine glass party favors (and escort cards)


Chris' bar sign.  That bar was his baby, folks.


Us getting ready.  One of my favorites because of Kim lurking behind the door...


Cool as a cucumber...on our way to the wedding


Contemplating his last few moments as a single man...


My sister's hair.  So pretty!


God this cake was good!


First dance...and the only physical record of Chris dancing, ever.


The moustaches were a hit...right Aimee?  :)

So this is my piece of advice for future brides.  Seriously, register for the wedding app and put the cards around your reception.  You'll be so happy you did!